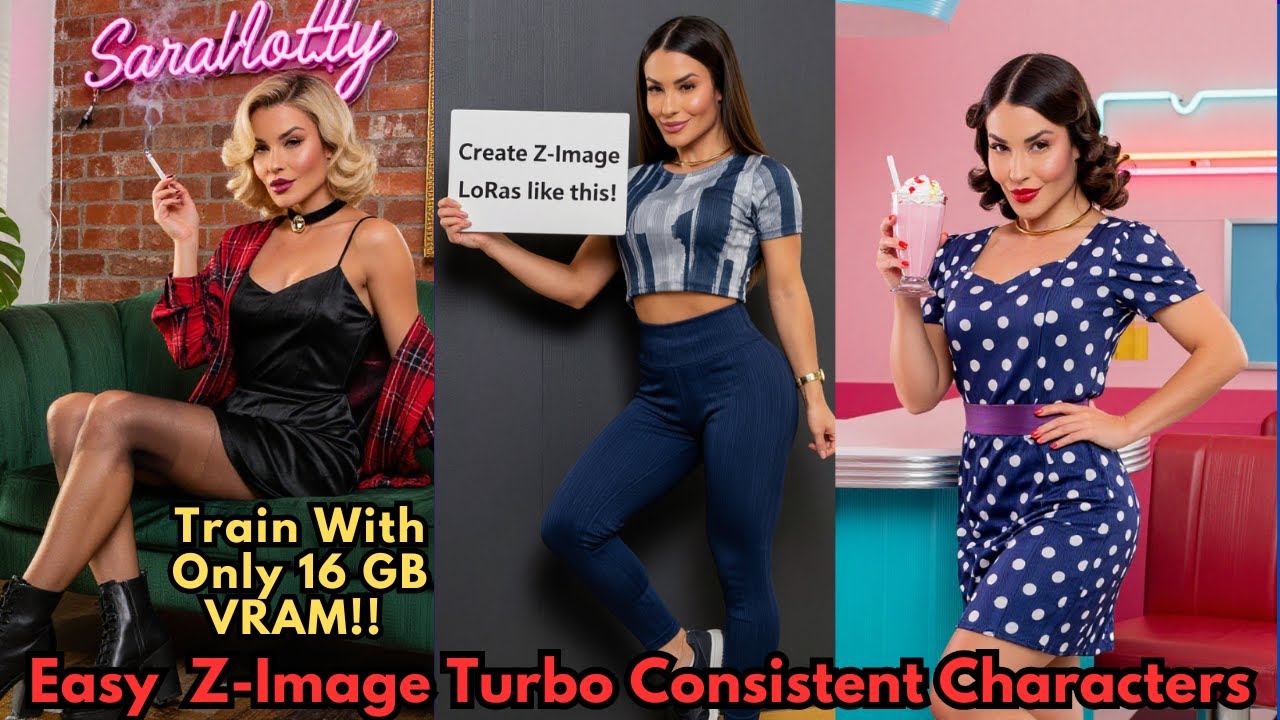
Alibaba's Z Image Turbo is one of the fastest and most realistic image generation models available — a 6-billion-parameter distilled model that produces stunning results without the overhead of Flux or other massive models. Training consistent characters on it requires a slightly different approach than usual, but AI Toolkit has you covered with a special training adapter designed specifically for distilled models.
What Makes Z Image Turbo Different?
- Distilled models trained naively lose quality
- Speed and efficiency degrade significantly
- No public base model released yet
- Acts as a stabilizer during training
- Preserves distilled speed and quality
- Teaches new characters without damaging the model
The "Turbo" in the name signals a distilled model — optimized for speed. Standard LoRA training on distilled models typically degrades quality. AI Toolkit's special training adapter solves this by acting as a temporary guide that keeps the model stable while it learns your character.
Hardware Requirements
Setup Option A — Local Install (One-Click)
For local setups, GitHub user Tavers1 (also recommended by the AI Toolkit creator) provides a one-click Windows installer called AI Toolkit Easy Install:
- Go to the AI Toolkit Easy Install GitHub repository (link in video description).
- Navigate to the Releases page and download the ZIP file.
- Drop the ZIP into a dedicated folder for this project.
- Unzip and run the
.batfile — it handles Python environments, Triton requirements, and all dependencies automatically.
A one-click Patreon installer is also available that wraps everything in an isolated Miniconda environment, preventing conflicts with other AI projects.
Setup Option B — RunPod (Recommended for Most)
-
Select a GPU. In RunPod, open the Pods menu and select the RTX 4090 (or better). The 4090 finishes training in 1–2 hours.
-
Choose the template. Click Change Template and search for Oris AI Toolkit (official community template). Select it and click Deploy GPU.
-
Open the UI. Wait 1–2 minutes for initialization. When the HTTP service port button turns green, click it. Enter
passwordif prompted.
Step 1 — Build Your Dataset
Z Image Turbo doesn't need a massive dataset. 10 high-resolution images is a solid starting point.
- Use a variety of poses, angles, and lighting conditions.
- Make sure your character's face and defining features are clearly visible.
- More diversity in the dataset = more versatile LoRA output.
- Go to the Datasets tab in the AI Toolkit UI.
- Click New Dataset, name it, and drag-drop your images into the upload field.
- Add a unique trigger word as the caption for all images (e.g.,
sarah_lora). Avoid names of celebrities or common words already in the model's training data.
Step 2 — Configure the Training Job
Navigate to New Job and configure these key settings:
| Setting | Value | Notes |
|---|---|---|
| LoRA file name | Your character name | Becomes the output filename |
| Trigger word | Same as dataset captions | Must match exactly |
| Model architecture | Z Image Turbo with training adapter |
Critical — must select the adapter version, not standard Z Image |
| Low VRAM | ✅ Enabled | Prevents memory crashes even on capable GPUs |
| Differential guidance | Optional (experimental) | Newer feature that helps align the model with target images more efficiently |
| Training steps | 1,500–2,000 | Default 3,000 is overkill for Z Image Turbo; 2,000 gives excellent results |
Sample Image Generation
Set up sample prompts so you can monitor training progress visually:
- Include your trigger word in all sample prompts.
- Use the defaults or write custom prompts with your character in different scenarios.
- Sample images are generated every few hundred steps — watch for consistent character appearance as a sign of good convergence.
Step 3 — Run Training
- Click Create Job (top right) to save your configuration.
- Click the Play button in the top menu. AI Toolkit will download the Z Image Turbo models automatically and begin training.
- Monitor the Samples tab. Early samples will look rough — once the character starts consistently resembling your dataset images, training is converging well.
Step 4 — Download and Use Your LoRA
Once training completes (or at any checkpoint you liked in the samples):
- Open the Checkpoints panel and download the
.safetensorsfile. - Place it in your ComfyUI
models/loras/folder or Forge Neo UImodels/Lora/folder. - In your workflow, load the LoRA and use your trigger word in the prompt to activate the character.
Tips for Best Results
- Always select "Z Image Turbo with training adapter" — never train on the plain Z Image Turbo option or you'll degrade the model.
- Unique trigger words matter. Avoid celebrity names, common words, or anything that might already be strongly associated in the model's knowledge.
- 2,000 steps is the sweet spot. Going all the way to 3,000 often leads to overfit results — the character works in training prompts but not general ones.
- Differential guidance is worth trying if you're comfortable with experimental settings — it can improve alignment with your target character.
- Test mid-training checkpoints. Download and test the step-1,000 checkpoint before waiting for completion — sometimes earlier is better for versatility.
📦 Want to skip the setup?
The Local Lab offers pre-configured AI installer packages so you can get running in minutes, not hours.
Get the Installer →